Table of Contents
ToggleUpgrading your computer’s RAM might seem like a task meant for tech wizards, but it’s easier than finding a Wi-Fi signal in a coffee shop. With just a few tools and a sprinkle of courage, anyone can boost their device’s performance and say goodbye to those frustrating loading screens.
Overview of RAM Installation Process
RAM installation involves several straightforward steps that enhance a computer’s performance. Users begin by gathering necessary tools such as a screwdriver and an anti-static wrist strap. Preparing the workspace ensures a clean and safe area for working on the device.
Next, shutting down the computer and unplugging all cables reduces the risk of electrical damage during installation. Removing the computer’s side panel provides access to the motherboard, where RAM slots are located. Situating the RAM sticks in the proper orientation remains crucial for successful installation.
Inserting the RAM involves lining up the notch on the RAM stick with the slot on the motherboard. Applying even pressure on both ends of the RAM until it clicks into place signals correct installation. Repeating this step for additional sticks may double the RAM size, significantly improving multitasking capabilities.
After installation, replacing the side panel restores the computer’s housing. Connecting all cables back ensures the device is ready for the next startup. Users can power on the computer and check the system properties to verify the increased RAM recognition.
Common issues during installation include improperly seated RAM or incompatible modules. Addressing these through careful checks resolves most installation problems. Overall, following this concise process enables even novice users to significantly boost their computer’s performance.
Tools Needed for RAM Installation
Upgrading RAM requires specific tools to ensure a smooth process. Having the right tools on hand simplifies the installation and minimizes issues.
Essential Tools
A Phillips screwdriver serves as the primary tool for removing the computer case screws. It offers the right grip and torque needed for easy access to the motherboard. ESD wrist straps offer protection against static electricity, safeguarding sensitive components during installation. Additionally, a flashlight can illuminate tight spaces, making it easier to navigate inside the case. Finally, using a soft cloth or mat helps protect surfaces from scratches and provides a clean working area.
Optional Tools
A plastic spudger can assist in prying apart plastic panels without causing damage. It offers flexibility when accessing tight areas in the computer case. Pairing a can of compressed air helps keep the workspace clean by removing dust from components before installation. Small containers are useful for organizing screws and small parts during the upgrade process. A camera enables documentation of wiring before disassembly, making reassembly straightforward.
Step-by-Step RAM Installation Process
The RAM installation process involves several clear steps that enhance a computer’s performance. Users can successfully navigate this process by following the instructions outlined below.
Preparing Your Computer
Start by gathering all necessary tools for the task. A Phillips screwdriver facilitates the removal of case screws, while an ESD wrist strap protects against static electricity. Before opening the computer, ensure it is powered down and unplugged. Cleaning the workspace minimizes dust contamination during the installation. Next, remove the screws securing the side panel of the case. Use a flashlight to illuminate tight spaces, allowing for better visibility of internal components.
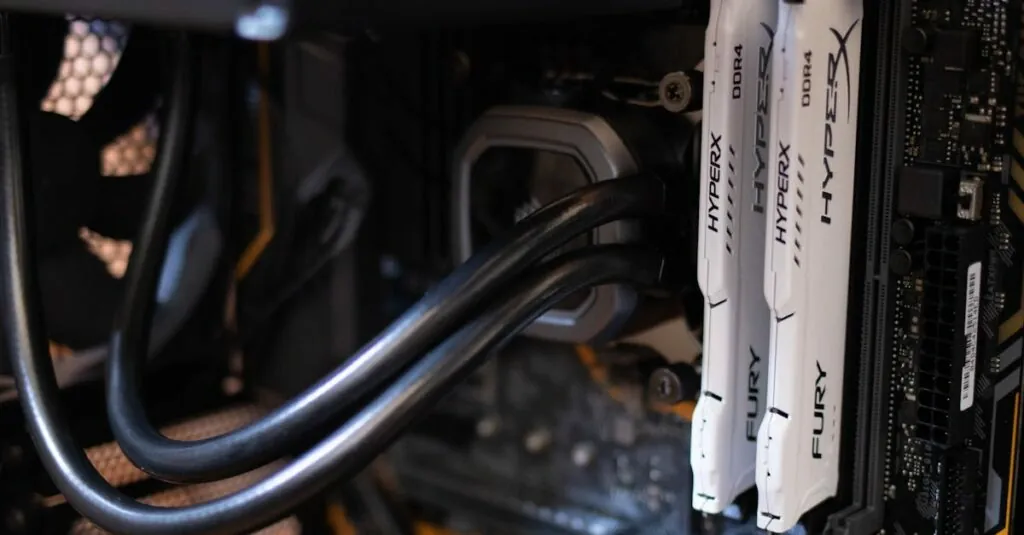
Installing the RAM
Position the RAM sticks for installation. Align the notch on the RAM module with the key in the memory slot. Insert the RAM at a slight angle, ensuring a secure fit. Gently press down until clips on either side click into place, indicating proper installation. Confirm that the RAM is seated firmly in the slots. For systems with multiple sticks, install them in the recommended channels for optimal performance.
Testing Your Installation
Restart the computer after the installation to check if the RAM is recognized. Access the system’s BIOS or operating system settings to verify the new RAM amount. Monitor system performance for improved speed and responsiveness, especially during resource-heavy tasks. If the computer fails to boot, revisit the installation to check for properly seated modules. Troubleshooting any common issues can lead to a successful upgrade.
Common Issues and Troubleshooting
The RAM installation process can encounter a few obstacles. Understanding these common issues helps ensure a smoother experience.
Incompatible RAM
Incompatible RAM can lead to frustration during installation. Buyers must check the motherboard specifications before purchasing new RAM sticks. Different types, such as DDR3 and DDR4, are not interchangeable. Additionally, variations in speed may affect system performance. Users can utilize tools like Crucial’s Memory Advisor or the motherboard manual for guidance. Verifying compatibility before purchase prevents unnecessary returns and downtime.
Booting Issues
Booting issues occur when a computer fails to start after RAM installation. This often results from improperly seated RAM sticks. Users should ensure that each module clicks firmly into place within the slots. Faulty modules can also lead to boot problems; testing each stick individually is a reliable solution. Another potential cause involves BIOS settings, which may need adjusting to recognize the new RAM. Restarting the computer with the appropriate settings can resolve these booting concerns.
Upgrading RAM can significantly enhance a computer’s performance. With the right tools and a little preparation anyone can tackle this task with ease. Following the outlined steps ensures a smooth installation process while addressing common issues helps prevent frustration.
By taking the time to verify compatibility and ensuring proper seating of RAM sticks users can experience noticeable improvements in speed and efficiency. This upgrade not only reduces loading times but also extends the lifespan of the device. Embracing the RAM installation process empowers users to optimize their systems confidently and effectively.